Keeping your dog's nails trimmed is essential for their health and comfort. One effective and safe tool to achieve this is a dog nail grinder. This guide will walk you through the process step-by-step, ensuring both you and your dog have a stress-free experience.
What is a Dog Nail Grinder?
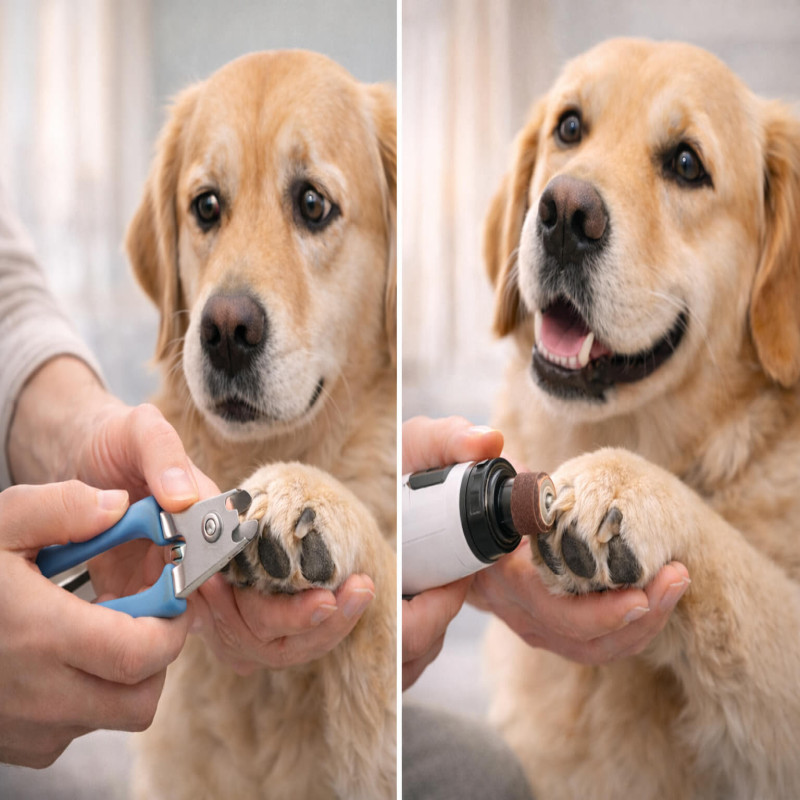
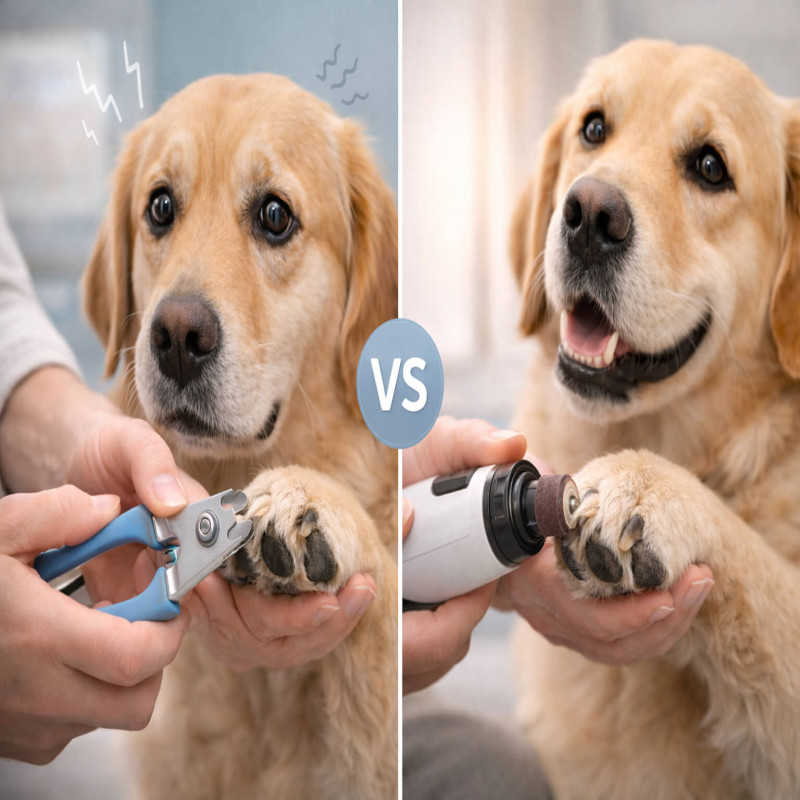
A dog nail grinder is a grooming tool used to shorten and smooth a dog’s nails. Unlike clippers that cut the nails, grinders file them down using a rotating abrasive surface. This makes them ideal for dogs with thick nails or those who dislike the pressure of traditional clippers.
Tools and Preparation
Before you begin, gather the following items:
- Dog nail grinder: Choose a high-quality, pet-safe grinder with adjustable speeds.
- Styptic powder: This helps stop bleeding if you accidentally grind too close to the quick.
- Treats and rewards: Positive reinforcement will make the experience more pleasant for your dog.
- A comfortable space: Choose a quiet area where your dog feels safe and secure.
Step 1: Familiarize Your Dog with the Grinder
Dogs can be wary of new tools, so it’s essential to introduce the grinder gradually.
- Let your dog sniff the grinder: Turn it off and allow your dog to investigate it.
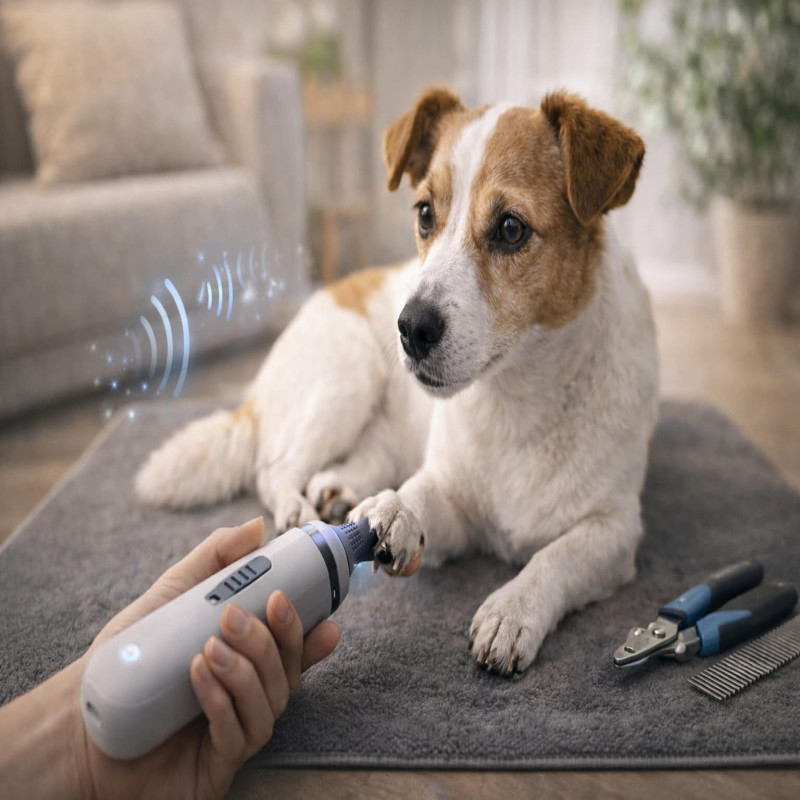
- Turn the grinder on: Let your dog hear the sound from a distance and gradually bring it closer.
- Reward your dog: Use treats to associate the grinder with positive experiences.
Step 2: Inspect Your Dog’s Nails
Examine your dog’s nails to locate the quick, which is the blood vessel inside the nail. Avoid grinding too close to this area to prevent pain and bleeding. Light-colored nails make the quick easier to spot, while dark nails require extra caution.
Step 3: Start Grinding
Once your dog is calm and comfortable, you can begin grinding their nails.
- Hold your dog’s paw firmly: Support the paw while leaving the nail exposed.
- Position the grinder: Place it at a 45-degree angle to the nail.
- Use short bursts: Grind the nail in small increments to avoid overheating.
- Check your progress: Regularly stop to inspect the nail length and shape.
Tips for Effective Grinding
- Go slow: Rushing the process can make your dog anxious or lead to mistakes.
- Use the right speed: Most grinders have adjustable settings. Use lower speeds for precision and higher speeds for thicker nails.
- Keep the grinder clean: Remove nail dust and debris after each use to maintain efficiency.
Step 4: Smooth and Finish
After grinding all nails, use the grinder’s smoothing attachment (if available) to remove rough edges. This ensures your dog’s nails are even and less likely to snag on surfaces.
Step 5: Reward Your Dog
End the session on a positive note by rewarding your dog with treats, praise, or playtime. This will help them associate nail grinding with pleasant outcomes, making future sessions easier.
Common Challenges and How to Overcome Them
- Fear of the grinder: Start with shorter sessions and gradually increase the duration.
- Thick nails: Use a grinder with high torque for efficient filing.
- Uncooperative behavior: Enlist a helper to hold and calm your dog.
Benefits of Using a Dog Nail Grinder
- Safety: Reduces the risk of cutting the quick.
- Precision: Allows for better control over nail length and shape.
- Comfort: Creates smooth edges, preventing scratches and snags.
Using a dog nail grinder can be a game-changer for your pet's grooming routine. With patience and practice, you can ensure your dog’s nails are well-maintained, promoting their overall health and well-being.
Meet Your Guide

Go Soundproof Team
The Go Soundproof Team is a group of soundproofing enthusiasts and product testers dedicated to helping you create quieter, more peaceful spaces. We review and test the latest quiet appliances and noise-reducing solutions to provide honest, expert advice you can trust.