Wallpapering is a great way to add personality and style to any room in your home. Whether you're looking to create a bold statement or simply add a pop of color then you have come to the right place.
Installing wallpaper can be a fun and easy way to update the look of any room in your home and I know that it's an easy DIY project for any homeowner.
Whether you're a DIY enthusiast or a professional decorator, there are many options available to suit your needs.
In this article, we'll take a look at the different types of wallpaper available and provide step-by-step instructions for installing each one.
We'll also offer tips and tricks for getting the best results and avoiding common mistakes. so you can create the perfect look for your home.
1Types of Wallpaper
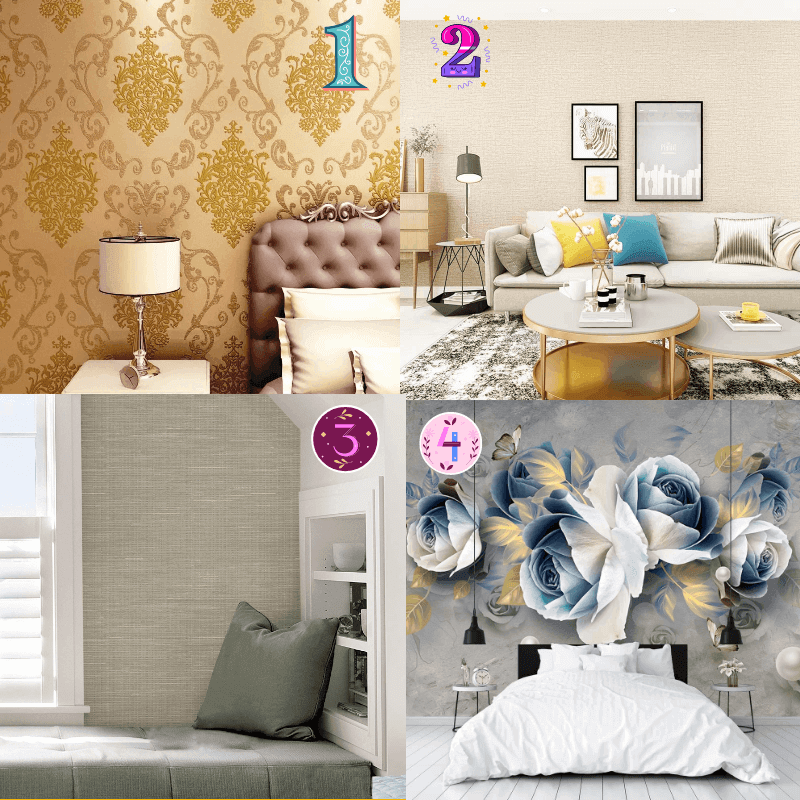
There are several types of wallpaper to choose from, each with its own unique properties and benefits.
- Vinyl Wallpaper
Vinyl wallpaper is one of the most popular types of wallpaper, thanks to its durability and ease of maintenance. It's made from a vinyl coating that is applied to a paper or non-woven backing. Vinyl wallpaper is resistant to moisture and stains, making it a great choice for bathrooms and kitchens.
- Fabric Wallpaper
Fabric wallpaper is made from natural fibers such as cotton, silk, or linen. It has a luxurious feel and is often used in high-end design projects. Fabric wallpaper is breathable, which makes it a good choice for rooms with high humidity.
- Grasscloth Wallpaper
Grasscloth wallpaper is made from natural fibers such as grass, jute, or bamboo. It has a unique texture and natural look that adds depth and interest to any room. Grasscloth wallpaper is more delicate than other types of wallpaper and requires special care during installation.
- Embossed Wallpaper
Embossed wallpaper has a raised design that creates a three-dimensional effect. It's often used to add a touch of elegance or drama to a room. Embossed wallpaper can be made from a variety of materials, including vinyl, fabric, and grasscloth.
2Choosing the Right Wallpaper for Your Space

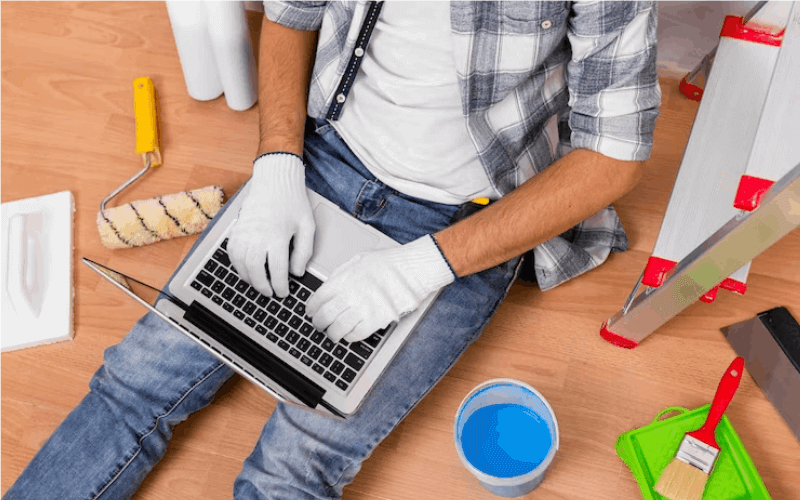
When it comes to choosing the right wallpaper for your space, there are several things to consider and if you are in the market and confused to choose the right wallpaper for your living space then you should follow this step-by-step Buying guide for Wallpaper.
- Determine the type of wallpaper you want: There are several different types of wallpaper available, including traditional paste-the-paper wallpaper, pre-pasted wallpaper, and peel-and-stick wallpaper. Consider the level of difficulty you're comfortable with, as well as the room you're planning to wallpaper and the condition of the walls.
- Measure the area to be wallpapered: Measure the length and width of each wall you plan to wallpaper and add up the total square footage. Be sure to add an additional 10-15% to account for waste and pattern matching.
- Choose a design and pattern: With a wide variety of designs and patterns available, it's important to choose a wallpaper that complements the room's existing decor and style. Consider the room's lighting and the time of day when choosing a pattern, as some designs can appear differently in different lighting conditions.
- Consider the durability: If you're wallpapering a high-traffic area or a room with high humidity, choose a durable wallpaper that can withstand wear and tear. Vinyl wallpaper is a good option for these areas as it is water-resistant and easy to clean.
- Determine the amount of wallpaper required: Once you've chosen the wallpaper, use the measurements you took earlier to determine how much wallpaper you'll need. Be sure to check the manufacturer's instructions for information on how many rolls you'll need to cover the area.
- Purchase the necessary tools and materials: In addition to the wallpaper, you'll need to purchase the appropriate tools and materials for your project. These may include a wallpaper paste, a wallpaper tray, a wallpaper brush, a wallpaper smoother, and a wallpaper cutter.
- Compare prices and read reviews: Before making your final purchase, be sure to compare prices and read reviews from other customers to ensure that you're getting the best deal and a quality product.
Note: If you buy the wallpaper, tools and materials from a reputable supplier. be sure to purchase from reputable suppliers or manufacturers to ensure that you're getting a quality product.
3Tools and Materials Needed
- Wallpaper
- Wallpaper paste
- Water tray
- Smoothing brush
- Utility knife
- Measuring tape
- Pencil or pen
- Level
- Step ladder
- Paint roller or brush (if using a paintable wallpaper)
- Paint (if using a paintable wallpaper)
4How to Wallpaper: A Step-by-Step Guide
In this guide, we'll walk you through the steps for wallpapering your own walls, so let's begin the party
Prepare the Surface
The first step in wallpapering is to prepare the surface of the walls. so let's do it one by one.
1.1Gather the necessary tools and materials
Before starting your project, be sure to gather all of the necessary tools and materials. This may include a putty knife, a scraper, a sanding sponge, a drop cloth, a damp cloth, a primer, and a paintbrush.
1.2Remove any existing wallpaper or paint
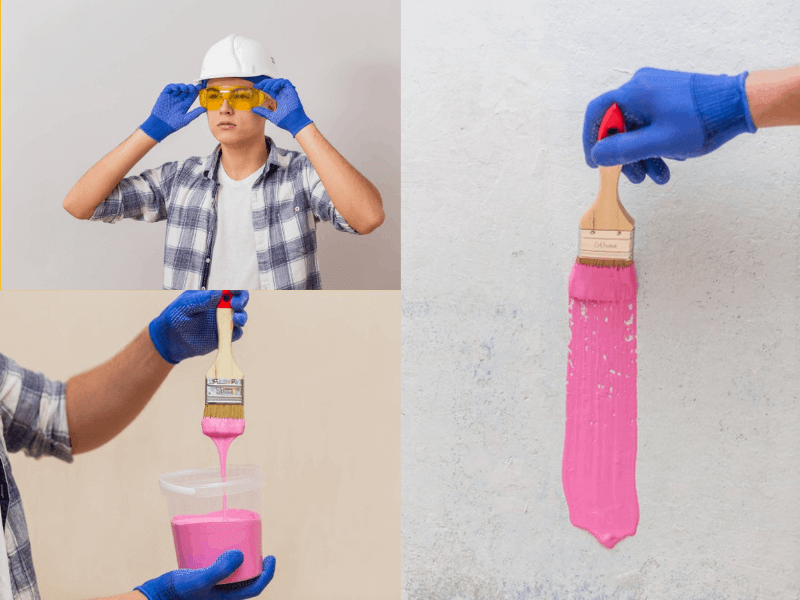
Use a putty knife or scraper to remove any existing wallpaper or paint from the walls. Be sure to wear protective gloves and goggles to protect your hands and eyes from debris.
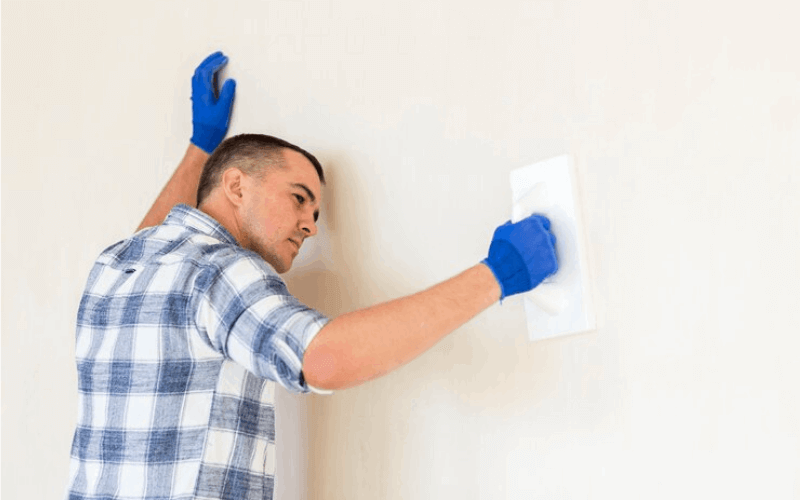
1.3Sand the walls
Once the walls are bare, use a sanding sponge to smooth out any rough spots or imperfections. Be sure to wipe down the walls with a damp cloth after sanding to remove any dust or debris.
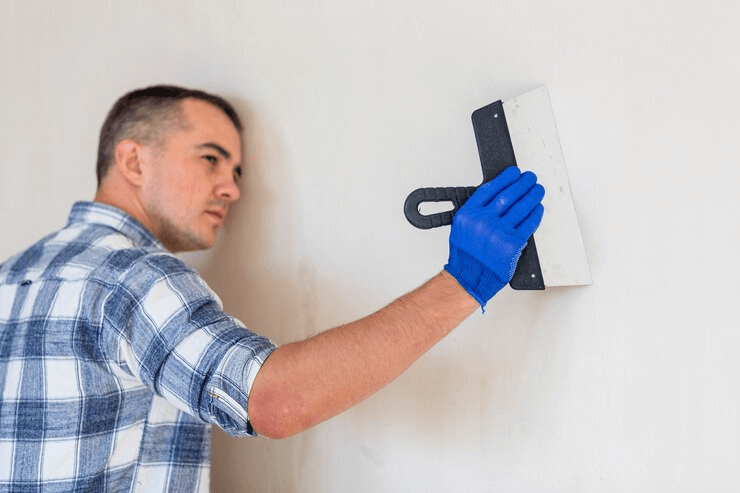
1.4Repair any damages
Fill any holes or cracks in the walls with spackling or joint compound and let dry according to the manufacturer's instructions. Sand the area smooth once dry.
1.5Clean the walls
Use a damp cloth to wipe down the walls to remove any remaining dust or debris. Allow the walls to dry completely before continuing.
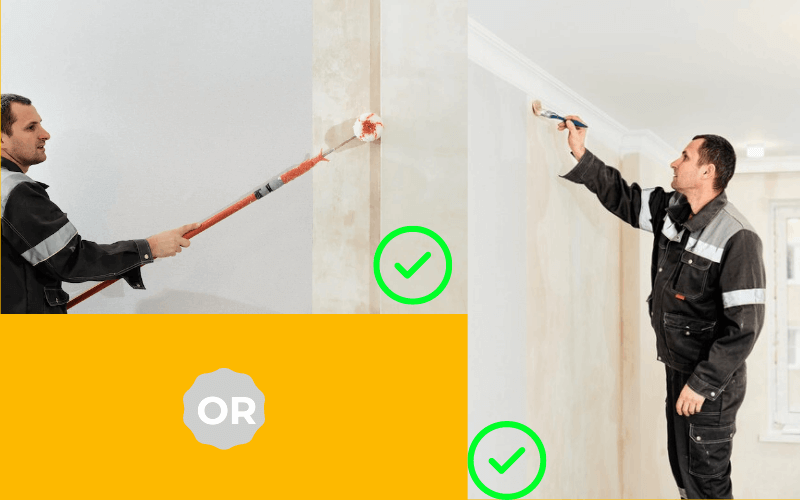
1.6Prime the walls
Apply a coat of primer to the walls to ensure that the wallpaper adheres properly. Be sure to use a paintbrush to apply the primer evenly and to get into any crevices or corners. Let the primer dry according to the manufacturer's instructions.
Note: This step is only for preparing walls for wallpaper. Be sure to read and follow the manufacturer's instructions for the specific product you choose.
Measure and Cut the Wallpaper
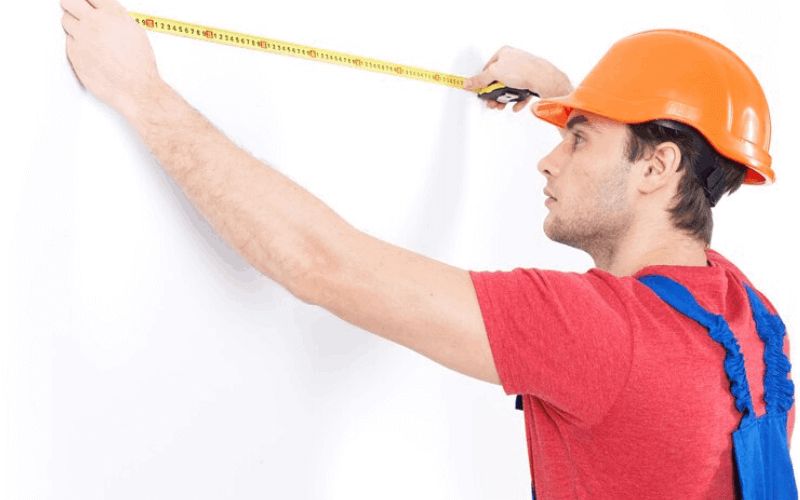
Once the walls are prepared, it's time to measure and cut the wallpaper. Start by measuring the height and width of each wall, including any windows or doors.
Then, use a pencil or pen to mark these measurements on the back of the wallpaper. Use a level to ensure that the lines are straight and accurate.
Next, use a utility knife to carefully cut the wallpaper to the correct size. Be sure to leave a little extra wallpaper on each edge to allow for adjustments. If you are using a paintable wallpaper, you will need to add an additional 2 inches to the width of the wallpaper, as this will be folded over the edge of the wall and painted.
Apply the Wallpaper Paste
The next step is to apply the wallpaper paste. Start by filling a water tray with the recommended amount of water, according to the paste package instructions.
Then, dip the wallpaper into the tray, making sure it is fully saturated with paste. If you are using a paintable wallpaper, you will need to use a paint roller or brush to apply the paste to the back of the wallpaper.
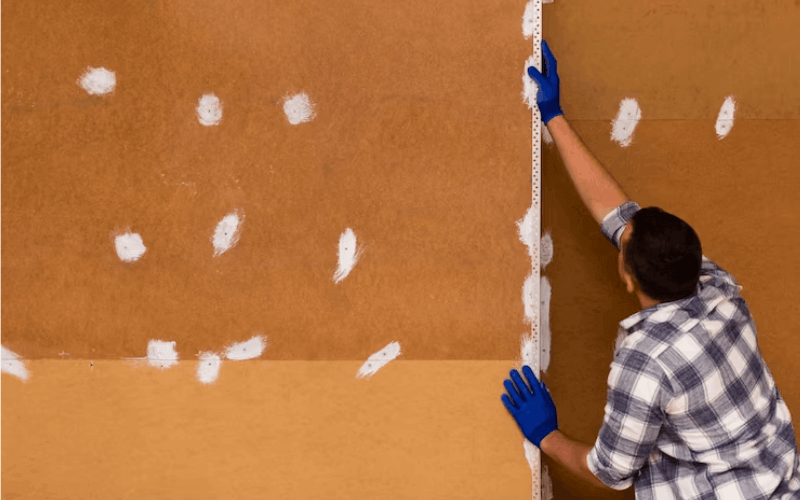
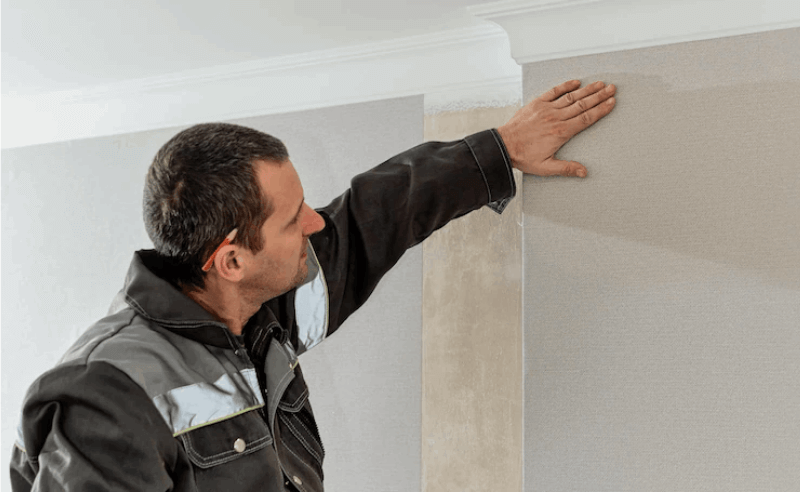
Apply the Wallpaper
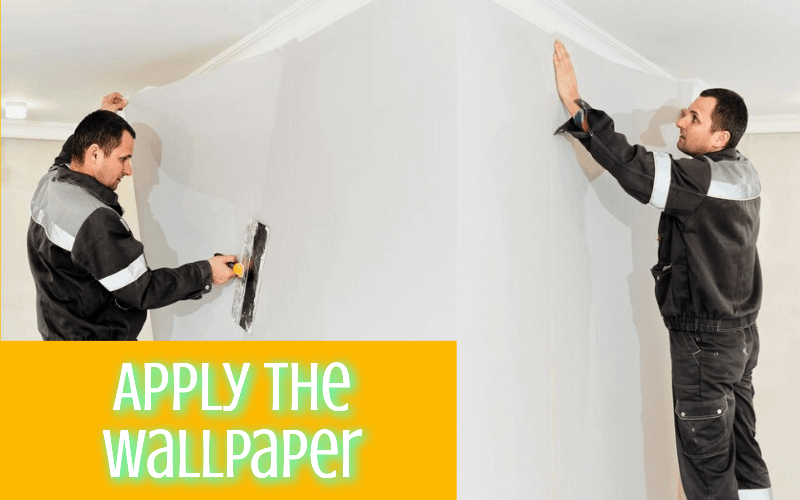
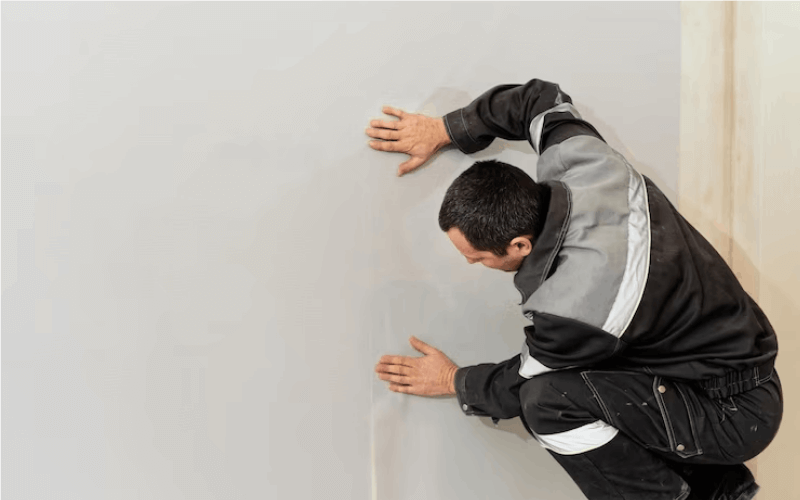
Once the wallpaper is fully saturated with paste, it's time to apply it to the wall. Start by smoothing out any bubbles or wrinkles with a smoothing brush.
Then, use a step ladder to reach the top of the wall and smooth out the wallpaper from the top down.
Repeat this process for each section of wallpaper, making sure to match up the seams as you go.
If you are using a paintable wallpaper, you will need to fold the excess wallpaper over the edge of the wall and smooth it out with a paint roller or brush.
Trim the Edges
After all the wallpaper is applied, use a utility knife to trim the edges of the wallpaper.
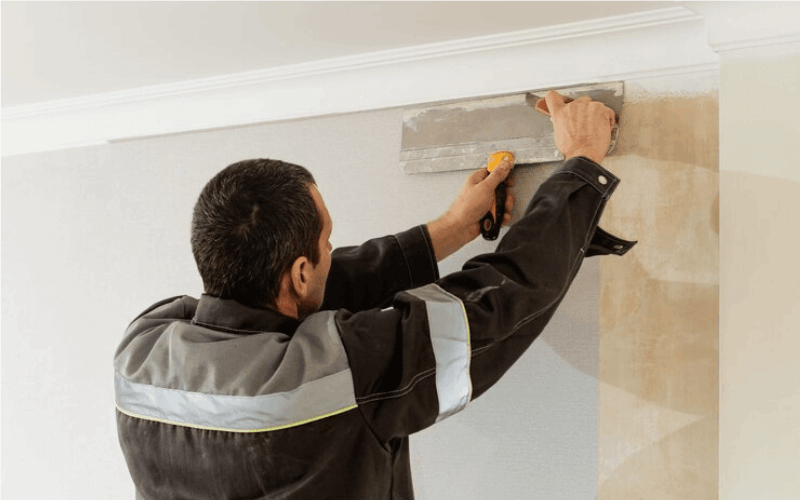
Be sure to cut away any excess wallpaper at the top and bottom of the wall, as well as around any windows or doors.
Repeat the process
Repeat the process for the remaining walls, ensuring that the pattern on the wallpaper is matched up correctly.
Clean up
Once the wallpapering is complete, be sure to clean up any paste or debris from the walls and floor.
Paint the Edges (if using paintable wallpaper)
If you are using a paintable wallpaper, you will need to paint the edges of the wallpaper. Start by using a paint roller or brush to apply paint to the folded over edges of the wallpaper.

Then, use a small paintbrush to paint the corners and edges of the wallpaper, making sure to get a smooth and even coverage.
Allow the paint to dry according to the package instructions before moving on to the next step.
Maintaining and caring for wallpaper
It's important to take proper care of your wallpaper to maintain its appearance and longevity. Avoid using harsh cleaning products and abrasive materials.
When cleaning, use a mild detergent and a soft cloth. Avoid using water to clean your wallpaper as it may cause damage to the wallpaper.
If a section of wallpaper becomes damaged, it's best to replace it as soon as possible.
Enjoy Your New Wallpaper

After the paint is dry, your new wallpaper is ready to be enjoyed. Take a step back and admire your work, and notice how the wallpaper has transformed the room.
You can now add your own personal touches with furniture, decor, and accessories to complete the look.
 Pro Tip
This is an additional Tip for Successful Wallpapering.
Always make sure to properly measure the walls before cutting the wallpaper. This will help ensure that you have enough wallpaper to cover the entire surface.
Be sure to use the correct type of wallpaper paste for the type of wallpaper you are using. This will help ensure that the wallpaper adheres properly and doesn't peel or bubble.
Use a wallpaper smoothing tool to smooth out any wrinkles or bubbles as you apply the wallpaper. This will help ensure a smooth and even coverage.
Always start at the top of the wall and work your way down. This will help prevent any drips or runs from getting on the newly applied wallpaper.
If you're using a patterned wallpaper, be sure to match the patterns as you apply it. This will help ensure a seamless and cohesive look.
Take your time and be patient. Wallpapering is not a quick process, but taking your time will help ensure a professional-looking end result.
If you are following these tips and using the step-by-step guide provided, you'll be able to create a beautiful, professional-looking wallpaper installation that will be the envy of all your friends and family.
Whether you're looking to update a single room or wallpaper your entire home, the possibilities are endless. So grab your tools and get started on your wallpaper project today.
5Common Mistakes to Avoid When Wallpapering

Not preparing the surface properly before applying the wallpaper. This can lead to uneven coverage and bubbles in the wallpaper.
Using the wrong type of wallpaper paste. This can lead to the wallpaper not adhering properly, or peeling and bubbling.
Not measuring the walls correctly. This can lead to not having enough wallpaper to cover the surface, or having too much and wasting it.
Not matching the patterns correctly. This can lead to an uneven and unprofessional-looking finished product.
Not smoothing out wrinkles or bubbles as you apply the wallpaper. This can lead to an uneven and unprofessional-looking finished product.
Not taking the time to properly trim the edges of the wallpaper after it has been applied. This can lead to uneven and unprofessional-looking finished product.
Pro TipAlways remember to take your time, be patient, and pay attention to detail. With a little bit of effort, you'll be able to create a stunning wallpaper installation that you'll be proud to show off.
6Conclusion
Wallpapering can seem like a daunting task, but with the right tools, techniques, and attention to detail, it can be a rewarding and satisfying DIY project.
By following the above steps in this article, you'll be able to achieve a professional-looking wallpaper installation that will last for years to come.
We hope that this article has provided you with the knowledge and inspiration you need to tackle your own wallpaper project.
Remember to take your time, be patient, and pay attention to detail. With a little bit of effort, you'll be able to create a stunning wallpaper installation that you'll be proud to show off.
And if you find that the task is too much for you or you're not sure of your abilities, it's always best to hire a professional wallpaper hanger. They have the experience and expertise to ensure a flawless, long-lasting installation.
7Faqs
How do I know how much wallpaper I need for my project?
To calculate how much wallpaper you'll need, measure the length and width of each wall you plan to wallpaper and add up the total square footage. Then, add an additional 10-15% to account for waste and pattern matching.
What type of wallpaper paste should I use?
The type of wallpaper paste you use will depend on the type of wallpaper you're using. For example, pre-pasted wallpaper requires a different type of paste than traditional, non-pasted wallpaper. Be sure to read the manufacturer's instructions and use the recommended paste for best results.
Can I wallpaper over existing wallpaper?
It's possible to wallpaper over existing wallpaper, but it can be difficult and time-consuming. It's best to remove the old wallpaper first and start with a clean, smooth surface.
Can I wallpaper a textured wall?
Wallpapering a textured wall can be challenging, and it's best to smooth out the texture first before applying the wallpaper. Alternatively, you can use a heavy-duty primer to seal the texture and create a smooth surface for the wallpaper to adhere to.
Can I wallpaper a bathroom or kitchen?
Yes, you can wallpaper a bathroom or kitchen, but be sure to use a wallpaper that is suitable for high-moisture areas. Vinyl wallpaper is a good option for these rooms as it is water-resistant and easy to clean.
Meet Your Guide

Go Soundproof Team
The Go Soundproof Team is a group of soundproofing enthusiasts and product testers dedicated to helping you create quieter, more peaceful spaces. We review and test the latest quiet appliances and noise-reducing solutions to provide honest, expert advice you can trust.