Are you looking to reduce noise in your home or workspace? Soundproof panels offer an effective solution for blocking unwanted sound, whether it’s external noise from traffic or internal noise from loud appliances. Proper installation of these panels ensures optimal soundproofing, improving the acoustics in the room and making the space more comfortable. Below is a detailed step-by-step guide on how to install soundproof panels.
What You Will Need: Tools and Materials
Before you begin, gather the following tools and materials:
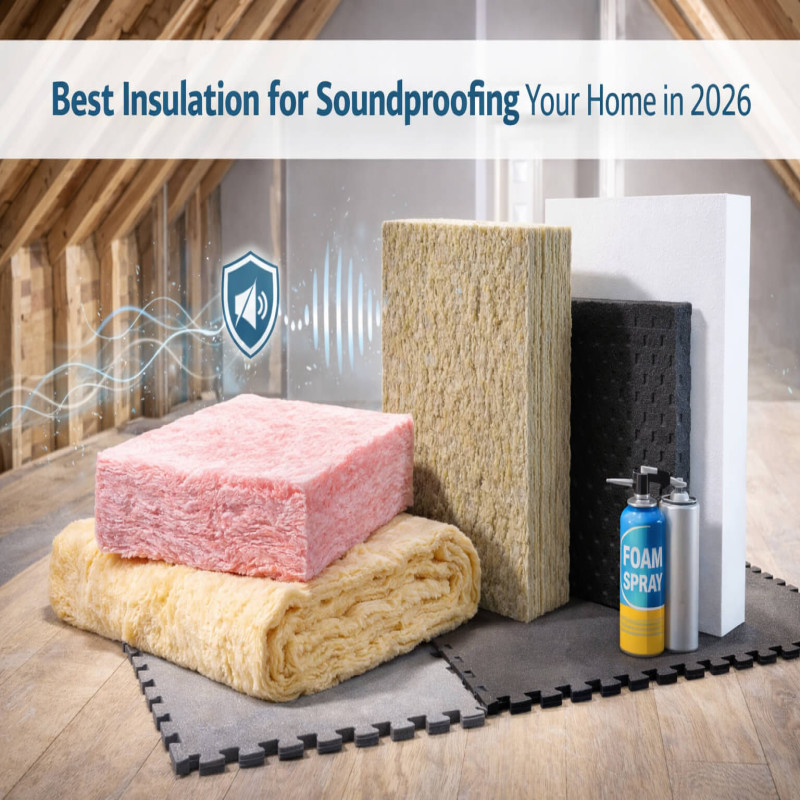
- Soundproof panels (foam, fiberglass, or polyester)
- Adhesive (acoustic foam adhesive spray or heavy-duty glue)
- Measuring tape
- Level
- Utility knife or scissors
- Wall anchors and screws (if needed)
- Clean cloth or sponge
Measure the Space
The first step in installing soundproof panels is determining how much space you need to cover. Measure the height and width of each wall or surface where you plan to install the panels. This helps in calculating how many panels are required.
To improve effectiveness, consider placing panels at key sound entry points like doors, windows, or thin walls. When covering large spaces, it's essential to evenly distribute the panels to maximize sound absorption.
Prepare the Walls or Ceiling
Make sure the surface where you’ll install the panels is clean and dry. Wipe down the walls with a clean cloth or sponge to remove any dirt or dust. This ensures the adhesive or mounting hardware will bond properly.
If you're installing panels on a painted wall, it might be helpful to lightly sand the area for better adhesion. For ceilings, the surface must be flat and smooth, as uneven areas can affect the panel placement.
Determine Panel Layout
Before applying adhesive, plan the layout of the panels. Lay them on the floor or against the wall to see how they will look once installed. Try different arrangements to figure out which configuration offers the most effective soundproofing and aesthetic appeal. For example, stagger the panels in a brick-like pattern rather than lining them up in straight rows.
This step helps avoid unnecessary mistakes or misalignment during the actual installation.
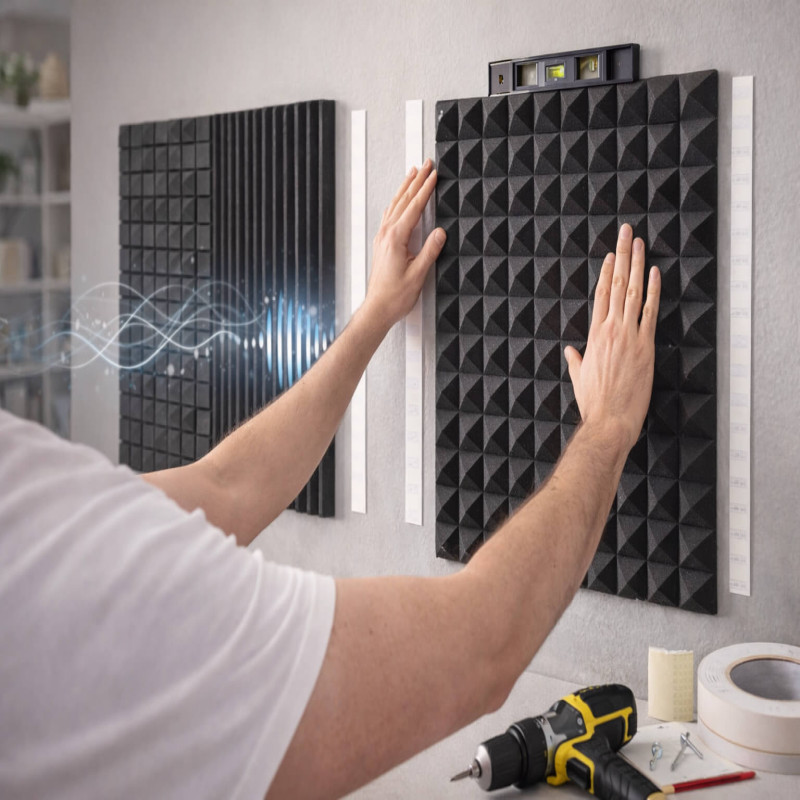
Apply Adhesive or Use Mounting Hardware
Once you’ve determined the layout, it's time to start attaching the panels. Depending on the material of the panel and the wall, you can either use acoustic adhesive or mounting hardware.
Using Adhesive
For foam panels, adhesive spray is commonly used. Spray the adhesive on the back of the panel and then press it firmly against the wall. Hold it in place for a few seconds to ensure a strong bond. Be sure to follow the manufacturer’s instructions for drying time.
Using Mounting Hardware
If you’re using heavier panels, such as fiberglass or polyester, wall anchors and screws may be needed. First, mark the areas where the screws will go using a pencil and a level to ensure straight alignment. Drill the holes and insert the wall anchors, then attach the panels with screws.
Cut Panels for Fitting
Not every wall or ceiling will be a perfect fit for standard-sized panels. Use a utility knife or scissors to cut panels to the desired size. This is particularly useful for corners, doors, or spaces around windows.
Make sure the cuts are straight, and edges are clean to maintain the panel's aesthetic and functional integrity.
Seal the Edges
For maximum soundproofing, it’s important to seal any gaps between the panels and the wall. Use acoustic caulk or sealant around the edges of the panels. This prevents sound from leaking through the small spaces and enhances the overall effectiveness of the soundproofing.
Test the Soundproofing
Once all the panels are installed, test the soundproofing by playing sound in the room or measuring decibel levels. You can use a sound level meter to check if the noise reduction is sufficient. If certain areas still seem noisy, consider adding more panels or rearranging the current setup.
Maintenance and Care
To ensure the longevity of your soundproof panels, it’s important to perform regular maintenance. Dust the panels regularly using a vacuum or a damp cloth to prevent buildup. Avoid using harsh chemicals, as they can damage the surface of the panels.
If any panel begins to peel or come loose, reapply the adhesive or adjust the mounting hardware. Always check for moisture, especially on ceilings, as dampness can reduce the panel's effectiveness and cause damage over time.
Additional Considerations
While installing soundproof panels is effective, combining them with other soundproofing techniques, like heavy curtains, rugs, and door seals, can significantly enhance the overall noise reduction. This is especially useful for large or noisy areas like home theaters or recording studios.
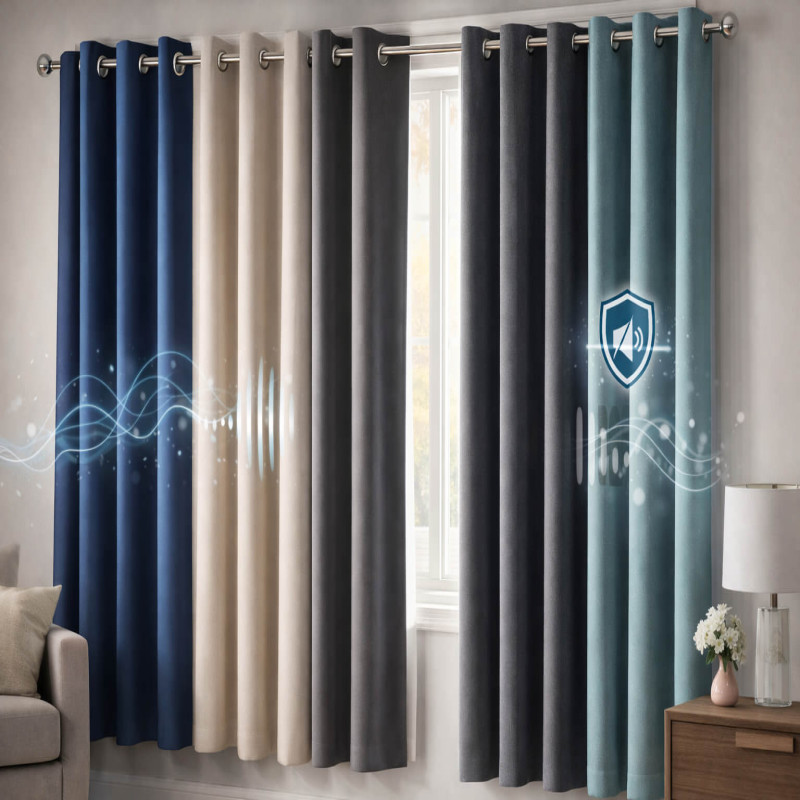
You may also want to look into soundproof curtains for areas such as windows, where soundproof panels might not be practical.
Conclusion
Installing soundproof panels is an effective way to reduce unwanted noise in any environment, be it a home office, recording studio, or bedroom. By carefully measuring, preparing, and installing the panels, you can dramatically improve the acoustics in your space. Regular maintenance and strategic placement of additional soundproofing elements can help maximize the results.
Meet Your Guide

Go Soundproof Team
The Go Soundproof Team is a group of soundproofing enthusiasts and product testers dedicated to helping you create quieter, more peaceful spaces. We review and test the latest quiet appliances and noise-reducing solutions to provide honest, expert advice you can trust.